
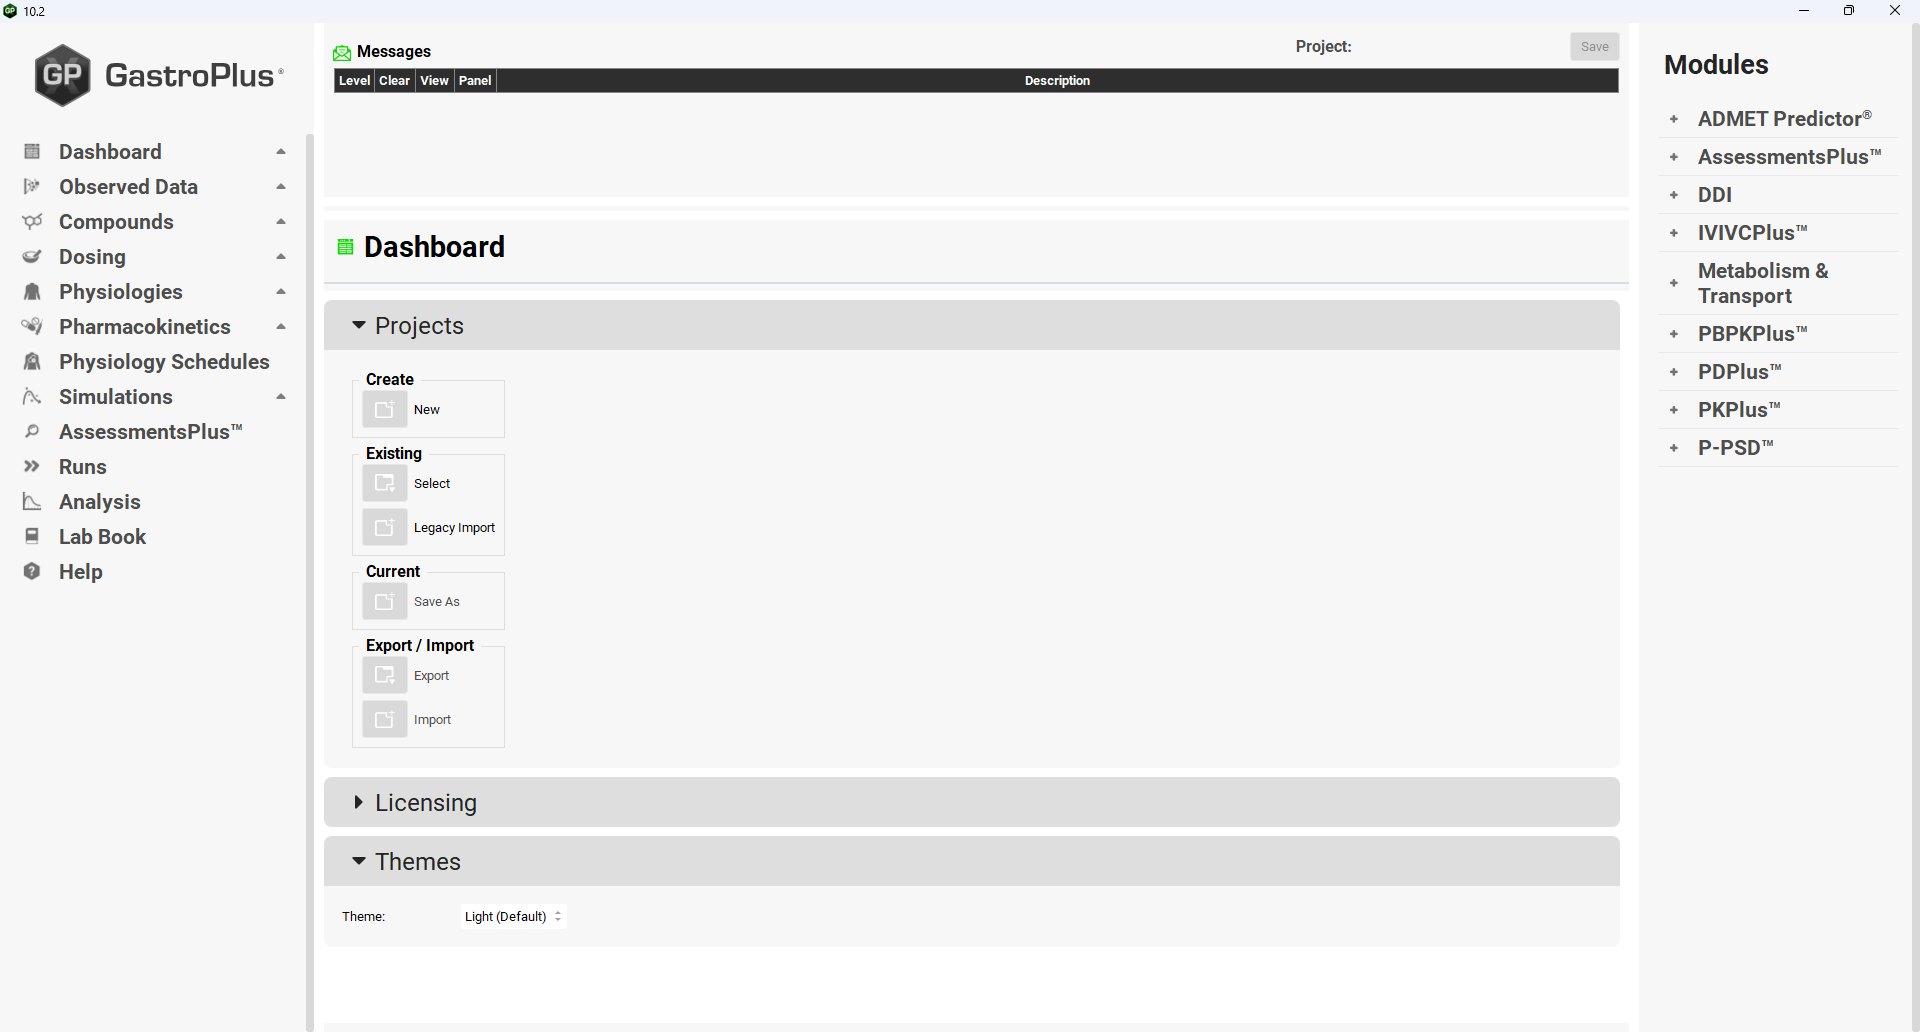
The Dashboard View has three panels. See:
Projects Panel
Dashboard view, Projects panel
|
Input/Option |
Description |
|
Create |
|
|
New |
A button. Activates the Create Project area (see below) to enable the creation of a new project. |
|
Create Project |
Area where the properties of the new project are determined.
|
|
Existing |
|
|
Select |
A button. Activates the Select Project area (see below) to enable an existing GPX™ project to be opened. |
|
Select Project |
Area where the properties of the existing project are determined.
Note: If the Browse button has been used to select the project the GPX™ Open button does not need to be clicked. |
|
Legacy Import |
A button. Activates the Import Legacy Project area (see below) to enable an existing GastroPlus® database to be updated to the GPX™ Project format. |
|
Import Legacy Project |
Area where the properties of the legacy database that is to be updated to the GPX™ Project format are determined.
Note: If the Browse button has been used to select the legacy database, the GPX™ Import button does not need to be clicked as the database will be automatically opened upon selection in the Windows Explorer window. Once the import process has completed, a table will be shown that lists details of the import and the assets that have been created. This table is available as a .csv file in the folder where the legacy database is stored. Note: Changes that are subsequently made to the project will not be reflected in this table or the .csv file. |
|
Current |
|
|
Save As |
A button. Activates the Save Project area (see below) to enable the current GPX™ Project as either a Copy or a Template. |
|
Save Project |
Area where the properties of the new project or template are determined.
Note: When a copy is saved, the current project open in GPX™ will be that copy. For confirmation, the name of the project is displayed on the top right of the interface. |
|
Export/Import |
|
|
Export |
A button. Activates the Export Assets area (see below) to enable assets to be exported from the current GPX™ Project. These assets are then available to be imported into an existing GPX™ project or can form the basis of a new GPX™ Project. |
|
Export Assets |
Area where the assets for Export are determined.
Note: If an item that is comprised of other assets is selected, for example a Run, Dosing Schedule or Physiology Schedule, all assets required for that item will be exported so the Compounds or Physiologies etc. do not need to be selected individually.
|
|
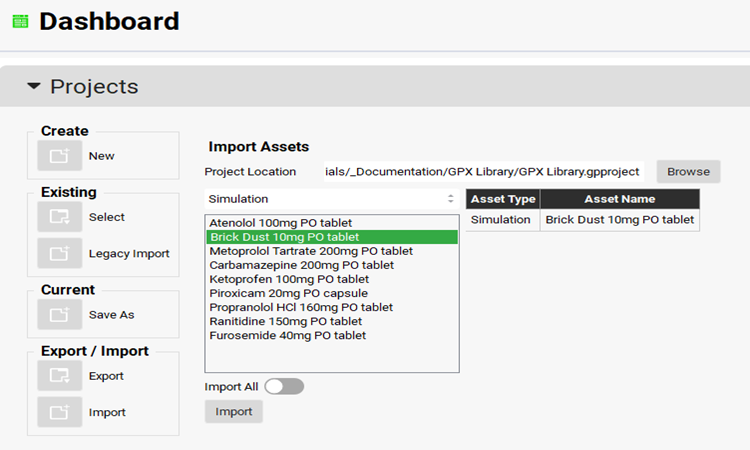
Import |
A button. Imports selected assets from an existing GPX™ Project into the current Project. Activates the Import Assets area (see below). |
|
Import Assets |
Area where the assets for Import are determined.
Note: If an item that is comprised of other assets is selected, for example a Run, Dosing Schedule, or Physiology Schedule, all assets required for that item will be imported so the Compounds or Physiologies etc. do not need to be selected individually.
|
If the desired dialogue box is already displayed in the center of the dashboard panel, the dialogue box can be used directly without the need to click on the associated button (New, Select, Legacy Import, etc.).
Dashboard view, Projects panel with Export selected

Dashboard view, Projects panel with Import selected
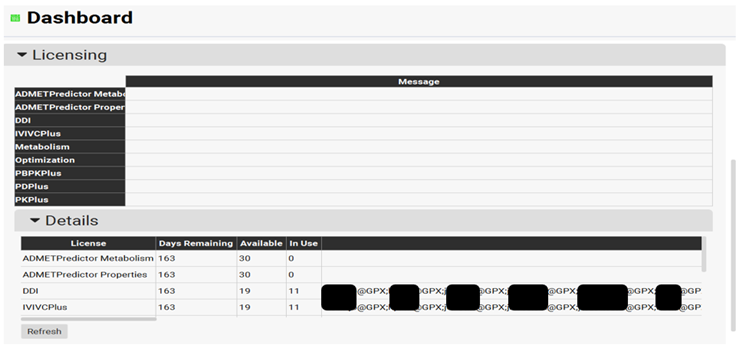
Licensing Panel
The Licensing Panel displays information on the status of licenses for Modules in GPX™.
Messages are displayed on dependencies and status of licenses for each module.
Details about each module are displayed in sub-panel Details. Click the Refresh button to see details on licenses. The Details Sub-panel displays the following items:
-
Days remaining until the expiration
-
Number of available licenses
-
Number of licenses in use
-
Information about user(s) who checked out the module
Dashboard view, Licensing panel, Details Sub-panel
|
Input/Option |
Description |
|
Refresh |
Select the Refresh button to refresh the view of available licenses. |
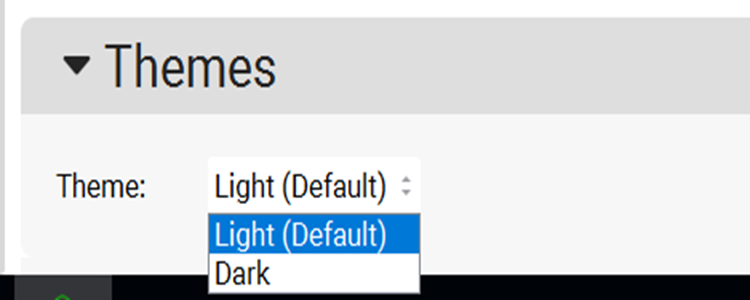
Themes Panel
The Themes Panel allows the user to change the appearance of the display for GPX™. There are two themes: Light, which is the default, and Dark.
Dashboard view, Themes panel
|
Input/Option |
Description |
|
Theme |
Select the Light or Dark option to change display theme for GPX™. Preferences will be changed the next time the user opens GPX™. |